DIY Organic Trellises From Scrap Wood
Introduction to DIY Organic Trellises
Creating your own organic trellises from scrap wood is not only an eco-friendly approach to gardening but also a rewarding DIY project that can enhance the aesthetic and productivity of your garden. Whether you’re growing climbing vegetables like beans and peas or ornamental vines such as clematis, a well-crafted trellis can provide the necessary support while adding a rustic charm to your garden space. In this article, we’ll explore how you can transform leftover wood into functional and beautiful trellises, ensuring that your garden thrives in harmony with nature.
Selecting the Right Scrap Wood
Before you start building, it’s crucial to choose the right type of scrap wood. Opt for untreated wood to maintain the organic integrity of your garden. Cedar and redwood are excellent choices due to their natural resistance to rot and insects. If you’re using other types of wood, ensure they are free from chemicals and paint. A visit to your local recycling center or a chat with a friendly neighbor might just land you the perfect pieces for your project. Remember, the beauty of DIY is in the imperfections, so don’t shy away from using wood with character.
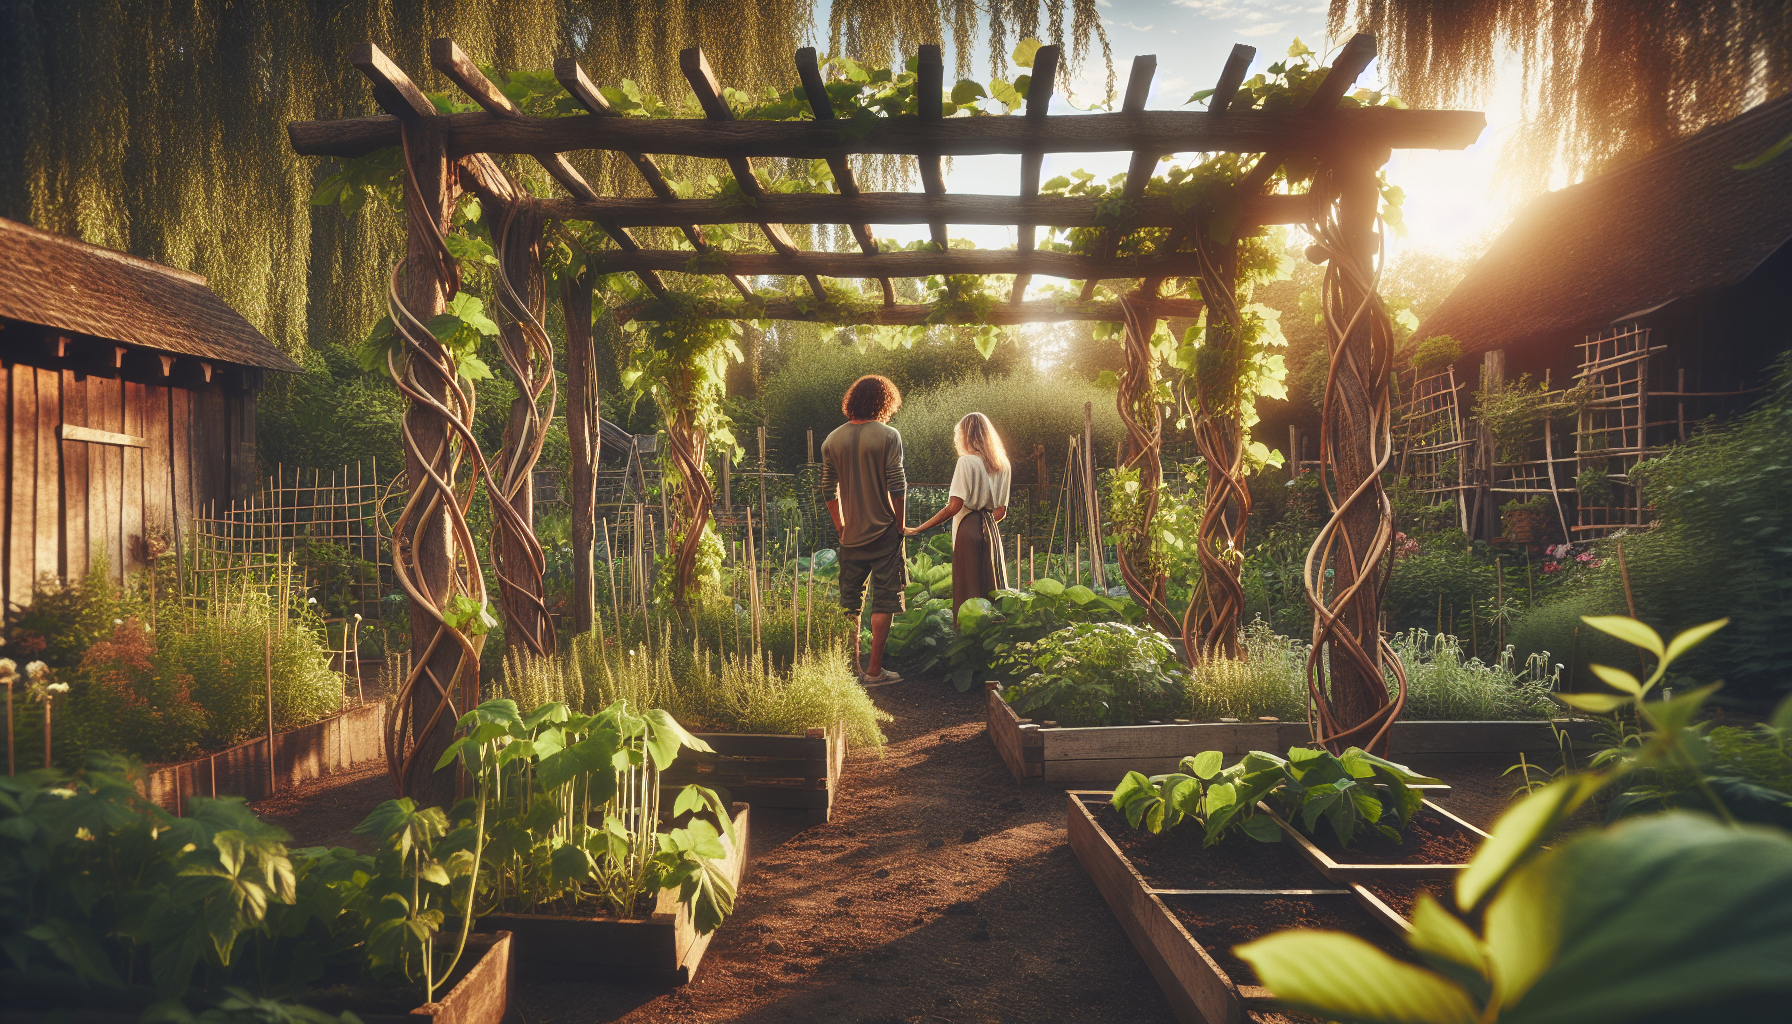
Designing Your Trellis
The design of your trellis can be as simple or as intricate as you desire. A basic ladder-style trellis is easy to construct and works well for many climbing plants. For a more artistic approach, consider a lattice design that can serve as a focal point in your garden. Sketch your ideas on paper, taking into account the mature size of your plants and the space available in your garden. This planning stage is your chance to let your creativity shine, so don’t hold back!
Tools and Materials Needed
To bring your trellis to life, you’ll need a few basic tools and materials. Here’s what you should gather before you begin:
| Saw | For cutting wood to size |
| Drill | To make holes for screws |
| Screws | To assemble the trellis securely |
| Sandpaper | To smooth rough edges |
| Measuring Tape | To ensure accurate dimensions |
These tools are commonly found in most home workshops, making this project accessible to DIY enthusiasts of all skill levels.
Step-by-Step Construction Guide
Now that you have your materials ready, let’s walk through the construction process:
Step 1: Cut the Wood – Measure and cut your wood pieces according to your design. For a ladder-style trellis, you’ll need two long vertical pieces and several shorter horizontal rungs.
Step 2: Sand the Edges – Use sandpaper to smooth any rough edges, ensuring your trellis is safe to handle and aesthetically pleasing.
Step 3: Assemble the Frame – Lay out your pieces and begin assembling the frame. Use a drill to create pilot holes before inserting screws, which will prevent the wood from splitting.
Step 4: Secure the Rungs – Attach the horizontal rungs to the vertical pieces, spacing them evenly apart. This will create the ladder effect that your plants can climb.
Step 5: Install the Trellis – Once your trellis is assembled, position it in your garden and secure it firmly in the ground. You can use stakes or bury the bottom of the trellis for added stability.
Throughout this process, remember to work safely and take your time. The joy of DIY is in the journey as much as the destination.
Benefits of Organic Trellises
Using organic trellises in your garden offers numerous benefits. Not only do they support the growth of climbing plants, but they also promote air circulation and sunlight exposure, which can lead to healthier plants and higher yields. Moreover, by using scrap wood, you’re reducing waste and contributing to a more sustainable gardening practice. According to a study on trellis gardening, plants grown on trellises can produce up to 50% more than those grown without support.
Maintaining Your Trellis
To ensure your trellis remains a functional and attractive part of your garden, regular maintenance is key. Inspect your trellis annually for signs of wear or damage, and make any necessary repairs. If you notice any rot or insect damage, consider replacing the affected parts with fresh scrap wood. A light sanding and a coat of natural oil can also help protect the wood and enhance its appearance. By caring for your trellis, you’ll ensure it continues to support your garden’s growth for years to come.
Incorporating Trellises into Your Garden Design
Beyond their practical use, trellises can be a stunning addition to your garden’s design. Consider positioning them to create natural pathways or to frame a seating area. You can also use trellises to divide your garden into different zones, each with its own purpose and aesthetic. For inspiration, check out these DIY trellis ideas that showcase how versatile and beautiful these structures can be.
Conclusion
Building your own organic trellises from scrap wood is a fulfilling project that combines creativity, sustainability, and practicality. By following the steps outlined in this guide, you can create a functional and beautiful addition to your garden that supports your plants and enhances your outdoor space. Remember, the key to a successful DIY project is to enjoy the process and embrace the imperfections. Happy gardening, and may your trellises be the talk of the neighborhood!